This video we're going to see the procedure for doing a slump test. You can see the laborer has taken some concrete right out of the back of the truck. Usually you let the truck place a few cubic yards of concrete. Then you stop it for a moment and sample the rest of the batch. You fill this cone in three layers and you carefully rod each layer to make sure that the concrete is consolidated, and that there are no voids. The slump cone has a base. It's clamped to the base, because if it is not clamped, it will actually try to rise, the hydraulic head of concrete reacts against the sloping sides and it actually wants to lift off.
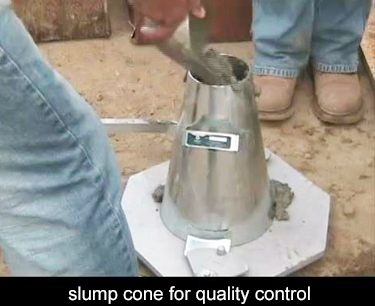 By the way, that's an important consideration if you're building formwork which is tapered it needs to be restrained against uplift. In this case, the slump cone is clamped to the base to make sure there is no movement. Now the cone has been filled to overflowing and It is being rodded again.
The inspector is now striking off the top of the cone.
By the way, that's an important consideration if you're building formwork which is tapered it needs to be restrained against uplift. In this case, the slump cone is clamped to the base to make sure there is no movement. Now the cone has been filled to overflowing and It is being rodded again.
The inspector is now striking off the top of the cone.
She is careful to remove any concrete which has collected on the base. You obviously don't want to restrain the concrete in any way. You want to let it slump as it naturally would. Now the cone is being freed up from the base and she's ready to lift this off her carefully. Then you measure across to see how much the concrete is slumping from its original position. What did you get? What was your reading? Four inches. Really? The sample looked like two inches to me. Thanks guys.